
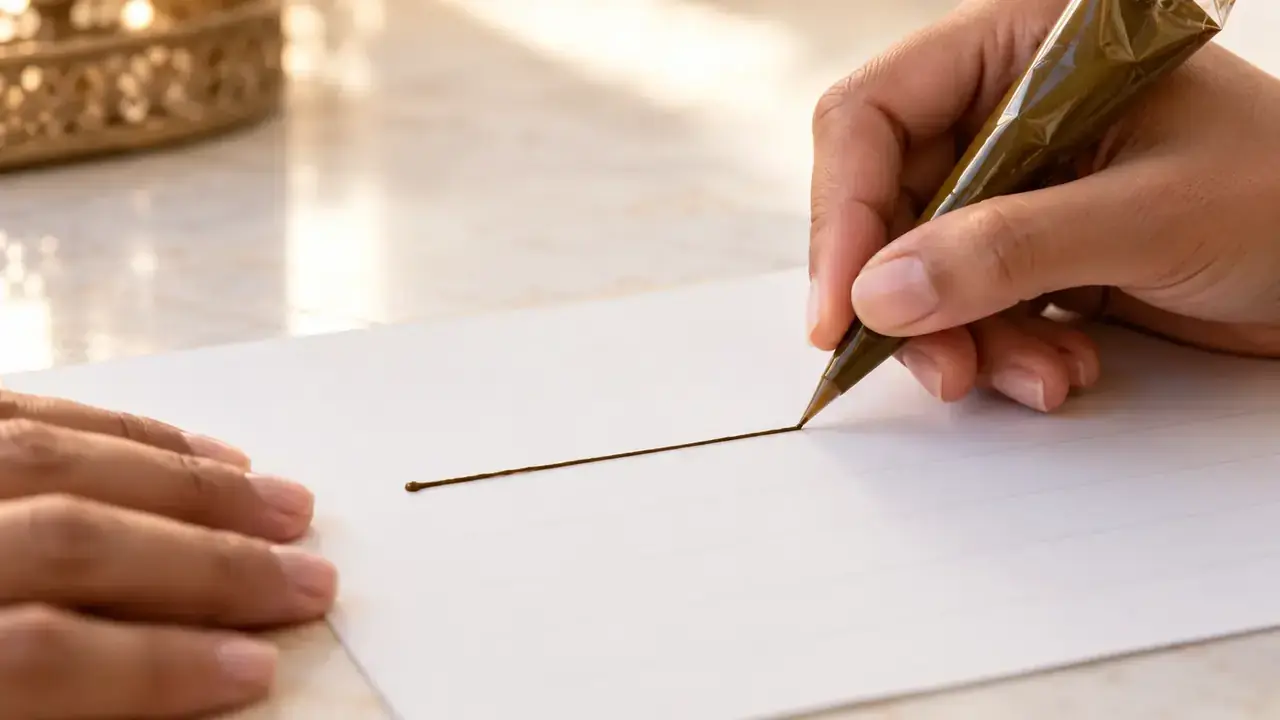
Making your own cone allows you to adjust how it feels in your hand and choose the opening used for drawing. It is a small craft activity, but above all it requires precision and good organisation.
Understanding the Shape of a Cone
A cone works like a small, flexible pouch ending in a tip. To be comfortable to use, its film must be strong enough, its seam securely closed and its tip even. An improvised wrapper that leaks can make drawing frustrating. For use on skin, choose suitable, clean materials and do not reuse film that previously contained an unknown substance.
Why the Opening Matters
A wide tip produces thicker lines, while a fine tip is used for details. The best diameter, however, depends on the consistency of the paste. A tiny tip is of no use if the preparation cannot pass through it: you would have to squeeze too hard, and the cone might become distorted. Aim for a steady flow rather than extreme fineness.
Filling Without Trapping Air
Work cleanly with paste prepared according to its instructions. Fill the cone gradually without overloading it, making sure to leave enough length to close the wide end. An overfilled cone is difficult to control; a poorly sealed cone may allow the paste to push back up when you squeeze it. Check the seal before attempting any drawing.
Testing Before Creating a Design
On a suitable practice surface, draw a few lines and dots. Check whether the cone leaks, whether the tip stays stable and whether the paste flows consistently. This initial check matters more than achieving a perfectly shaped wrapper. To learn the movements involved in applying henna to skin, consult our earlier guide devoted to the cone.
The Detail That Changes How a Cone Feels
A well-designed cone should be comfortable to hold and allow paste to flow through a small, even opening. If the tip is too wide, fine designs become difficult; if it is too narrow for your paste's consistency, the flow becomes irregular. Before working on skin, practise on a suitable surface to check the flow and make sure there are no leaks. Making a cone is a technical skill; it never removes the need to check that its contents are suitable for the intended use.
Why Making Your Own Cone Changes Your Technique
A handmade cone is more than a triangular container. Its flexibility, capacity, seal quality and tip opening all affect drawing comfort. Two cones filled with the same paste can therefore behave differently. Understanding their construction helps you avoid assuming that every poor line is caused by your hand.
To make one, use suitable, clean film that is flexible enough to form a fine tip but strong enough to withstand gentle pressure. The aim is to create an even conical tube. A thick, rigid material may tire your hand; an overly fragile material may distort or come apart. The exact dimensions depend on your hand size and how much paste you intend to use.
The Main Steps, Without Complicated Equipment
- Cut a piece of clean film with even edges.
- Roll it into a cone with a closed, well-aligned tip.
- Secure the edge so that it does not unroll during filling.
- Add a modest quantity of suitable paste without forcing it into the tip.
- Close the wide end, leaving enough room to hold it comfortably.
- Test a line on a practice surface, then adjust the opening if necessary.
These steps describe how to make the container. They do not replace either the paste preparation instructions or our earlier tutorial on how to draw.
Table: Identifying Construction Problems
| Symptom | Possible cause | What to check |
|---|---|---|
| The tip moves | Uneven rolling | Make a new cone with a better-aligned tip |
| Paste escapes from the top | Inadequate seal | Leave more room and seal it more securely |
| The cone loses its shape | Film is too flexible or the cone is overfilled | Reduce the quantity and check the material |
| The line is too thick | Opening is wide | Test a smaller opening on a practice surface |
| Paste gets stuck | Narrow tip or uneven paste | Check both rather than squeezing harder |
Why Shouldn't You Overfill the Cone?
A cone filled to the brim may seem economical, but it often becomes harder to close and hold. The paste pushes against the seal, and every movement may force some of it upwards. For beginners, a smaller quantity provides better control. It also lets you change the material or tip size without wasting the entire preparation.
Imagine a cone intended for a delicate design on one finger: you do not need the quantity that would be used to decorate several hands. The cone's size should suit the design and your comfort, not its maximum possible capacity.
Matching the Opening to the Design
A very widely cut tip is poorly suited to delicate lines. Conversely, a tiny tip does not guarantee perfect precision if the paste contains particles or you have to squeeze too hard. Start with a modest opening and draw a test line. Widening it slightly is usually easier than reversing a cut you have already made.
Before attempting a complex design, check that the cone does not leak along its seam and remains flexible in your hand. A properly made cone should be easy to set down, pick up and handle without the seal opening. This manufacturing check is often overlooked in quick demonstrations.
What About Ready-to-Use Cones?
If you buy a pre-filled cone, you do not necessarily need to transfer its contents into another one: doing so may mean losing the instructions, contaminating the preparation or changing how it behaves. This article is for people who choose to make their own applicator; it does not recommend repackaging a commercial cosmetic product.
The goal of this session is simple: a clean, stable cone, securely enough sealed to produce several test lines. Once you have achieved that, you can begin learning to draw with our dedicated guide to using a cone.
Frequently Asked Questions
Should I fill the cone right to the top?
No. Leave room for a secure seal and a comfortable grip.
Is a finer tip always better?
No. It must suit the paste's consistency.
Why test it before using it on skin?
To check the flow, seal and comfort of the applicator.
Sources and References
- FDA — Temporary Tattoos, Henna/Mehndi, and Black Henna: https://www.fda.gov/cosmetics/cosmetic-products/temporary-tattoos-hennamehndi-and-black-henna-fact-sheet